How to create your first blog post in college and begin branding yourself

OK. You’ve enrolled in a social media class and the first thing your professor tasks you with creating your first blog post in college and thinking about branding yourself. She talks about remarkable content and how you could become the next social media influencer on campus producing amazing projects combining your blogging skills with social media and your passion. Then, more assignments keep coming at once. You are also tasked with using your phone to post across several social media platforms. What a better way to spend your freshman and sophomore semesters — and get straight A’s — using Instagram, the most popular social media platform among 18- to 24- year olds.
It’s only been three weeks since the semester started and your social media assignments seem insurmountable. Now, you are now asking yourself whether you chose the right class. Social media, after all, should be easy and fun, right?
The process
You might feel a bit overwhelmed and with limited guidance because many professors (eh, like myself?) assume that because you are a Generation Z, you should be able to grasp fairly quickly with social media and mobile technology. And you do. But as an aspiring storyteller and communicator, we still need to break the process down for you.
Here, I am going to show you how to build your first blog post.
There are many platforms you can choose from: Tumblr, Wix, Wordpress, Medium, Weebly. Just Google the phrase best blogging sites and you’ll find so many to choose from. Many offer free or some kind of free versions, while others are paid-subscription based.
I recommend that you start with a free version, experiment with it and as you become more comfortable blogging, you will know when it’s time to upgrade. And by then — you never know — you might even be making enough money to afford a more robust blogging platform or content management system.
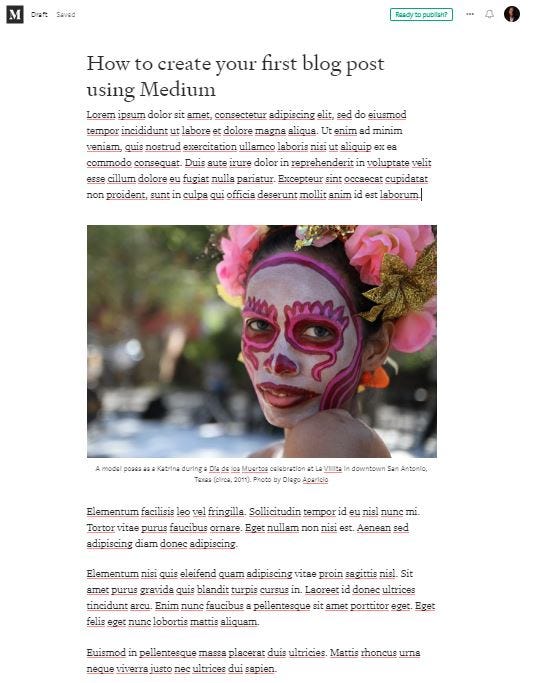
For the purpose of this demonstration, I will show you how to create your first blog post using Medium.
Open an account
First, you need to open your account in Medium. It’s as easy as signing up for Snapchat, Instagram, TikTok, and any other social media app you are using right now. Neil Schaffer, a very-well known in the social media marketing sphere, explains How to Set Up a Medium Account.
Choose a username that goes with your brand. If you are a basketball blogger, choose something like Hoops World (eh, this brand is already taken, but you get my point). You can also use your own name (it is recommended) or a variation of it that you feel will makes your credibility as a solid influencer and someone serious about your topic of expertise, which in the journalism world we call beat.
Choose a good profile photo, add a one-sentence bio, and add your social media accounts that you’d like to display with your Medium profile (this is where readers that like your post will use to follow you on other social media apps).
Now, you are ready to post your first blog
In the top-right corner, you will see your profile picture, and when you click on it, a menu displays options. Choose New Story.

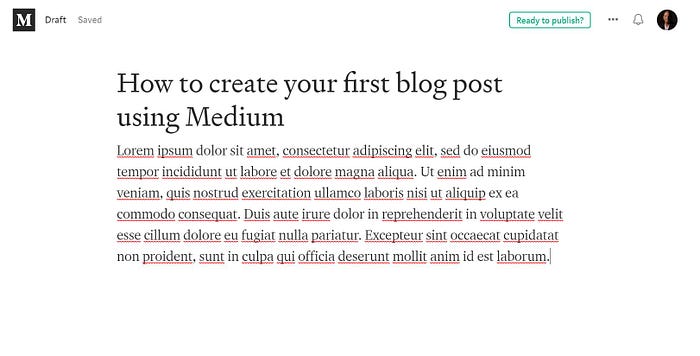
A blank field opens up asking you to “Tell Your Story” and above it is asking for a “Title.”

You don’t need to add a title yet, but I recommend you add something preliminary, tentative — you can it change later (aesthetics will help you visualize your blog post better).

I recommend you write your blog post in a Word or Google Doc first, because you will be writing and rewriting until the story is ready to publish. In the meantime, if you haven’t started or finished your story, don’t let that stop you from learning the steps of creating your first blog post right away.
Add your text
Copy and paste a text placeholder known in the design and publishing world as Lorem Ipsum, or copy and paste as many paragraphs as you need using a text placeholder generator.
You might be thinking, “why not just ‘borrow’ a story from another blog for now?” Short answer: it is not yours. Last thing you’d like is to build a reputation of lifting someone else’s work — known as plagiarism. It’s not cool.
Using Lorem Ipsum as placeholder text is safe and you can replace it once you finish writing your post on your Word or Google document. Right now, because more than likely you haven’t written your first post fully, I’d like for you to use dummy text to give shape to your first blog in this blog post step-by-step tutorial.
Add pictures
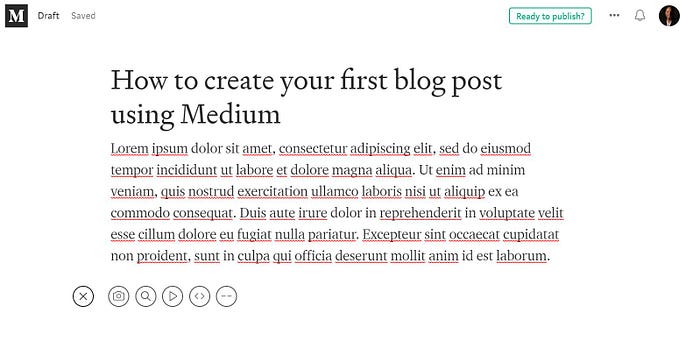
When you click below your text (original or dummy) as if you are going to continue adding more text, a + sign will pop up to your left hand side. And when you hover over it, a menu pops up asking you to add a photo, search a photo from Unsplash (I’ll tell about that in a second), add a video, embed a video or add a new part.
Choose add an image from unsplash and type the word street (or any word) in the search box. Choose any photo you’d like.
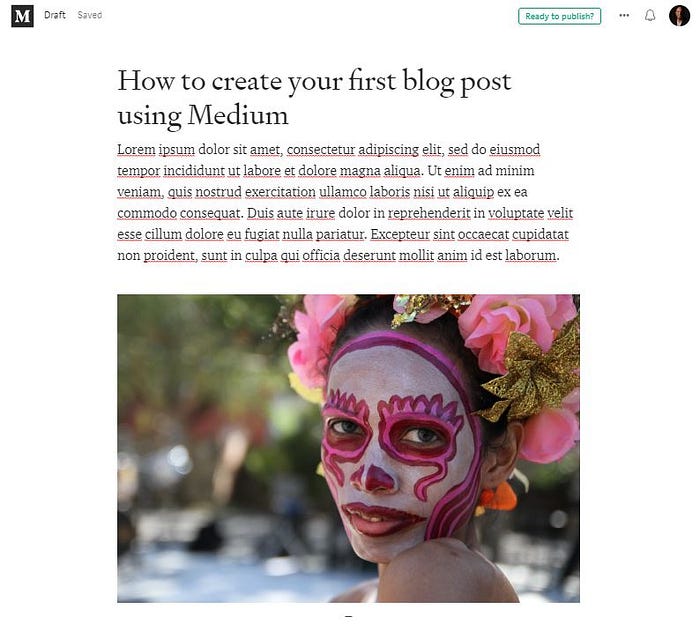
When the image loads and you click on it, Medium gives you alignment and ALT text options. Use ALT text to add a description for users with visual impairment.
You also have an option to add a caption. Do it. Describe the photo and add credit to the photo. Event if photo sites like Unsplash or Pixabay or Pexels say you can use without attribution, it is good practice (and karma) to attribute your content, especially when it isn’t yours. It helps you build credibility with your readers.
Watch out for copyrighted images
There are tons of beautiful, stunning images on the web. Someone must have taken them and, therefore, own them. Just as with text, use only pictures that you take, that you own. If it is not yours, don’t use it — unless you have written permission directly from its copyright owners.
But I’ve got good news for you.
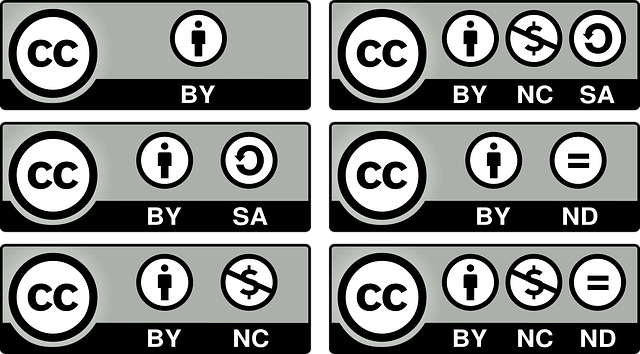
Pixabay, Unsplashed, Pexels are popular sites that offer royalty-free photos that you can use in your blogs. Make sure to read the license for each site and photo. Some will allow you to post without attribution, others will offer them free but with limitations such as attribution needed (giving credit to the creator), not for commercial use, share alike or to use without any modification or editing. The license for these kind of photos is known as Creative Commons.
Add to your story
You’ve got your text and image in your blog post. Now it’s time to add more.
If you haven’t posted the entire text of your story, it’s time to do it. Then, in between text, you may add (and I highly recommend you to) more pictures or videos or infographics or Tweeter cards or anything else that brings more interactivity to your content.
This will add a richer user experience and engagement with your content. It also gives more entry points to other content produced by yourself or other people you think would add to the story you are telling.
Adding videos
With videos, copyrights are essentially the same as what I explained with still images earlier.
But unlike still images where you need to use your own photos or ask for permission to use copyrighted material or rely on royalty-free or creative commons licences, most Youtube videos offer an option to embed in most sites.
What does embed mean? Can I use a copyrighted Youtube video on my blog without asking permission to its owner?

Allison Lindstrom’s Youtube channel.
Yes — as long as YouTube makes the video available through a functionality known as an embed code, which you can find when clicking on share (above).
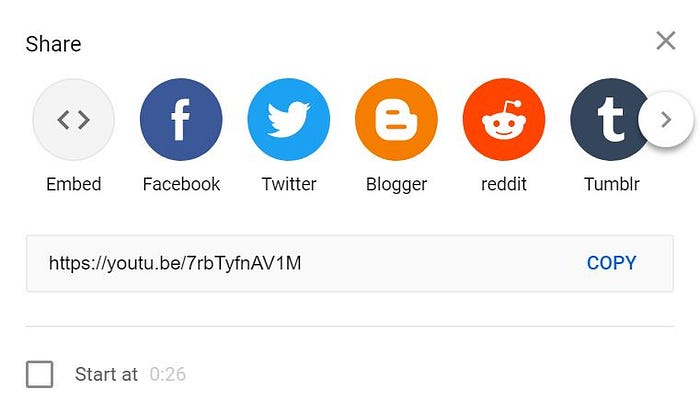
To embed a video, you will click on embed (above) and copy the code Youtube gives you (to the right in the picture below).
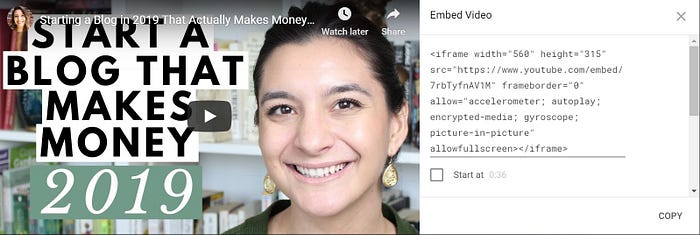
Once you copy the embed code, hover over your story until the + sign appears again, with options to choose a photo, video, embed, etc. Choose embed and paste the code you copied above (to the right).
Some other sites like Vimeo, for example, also offer embed codes for many of their video offerings. And some other publishers that use different video players sometimes share their embed codes, which means they are allowing you to embed (it gives them more access points to their content, which translates into more video videos and more revenue). If the video doesn’t offer an embed code, it means that you need to get explicit permission from the owner.
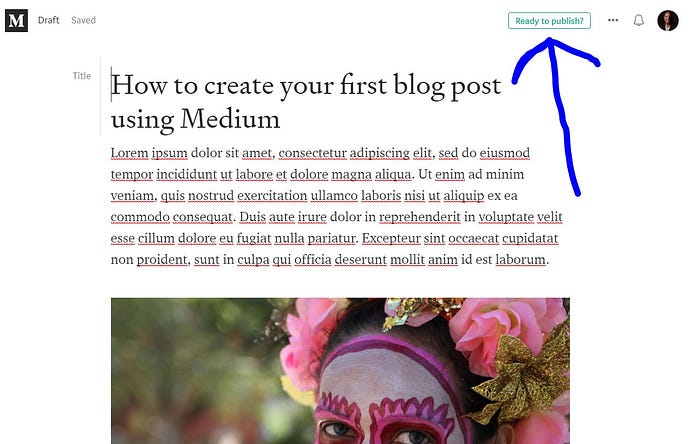
Ready to publish
Now that you’ve got your text, still photos and embedded videos posted in your Medium story, it’s time to publish.
Before you hit that publish button, do a last round of proofreading, making sure the paragraphs are placed the way you mean to, that pictures have captions, ALT text and aligned the way you’d like, that videos are displaying correctly (embedding codes vary per platform and sometimes you’ll need to try and error until you get it displaying correctly).
Make sure your title is SEO friendly, which means that it is descriptive and using keywords as you would like Google users to find it when they are searching for content like yours.
For example, I purposely titled this post “How to create your first blog post using Medium” because I am writing it with freshman and sophomore college students in mind.
All in all, you are making sure your readers gets a remarkable experience reading your content and be willing to come back for more or — even better — share it with their social networks.
Happy blogging!